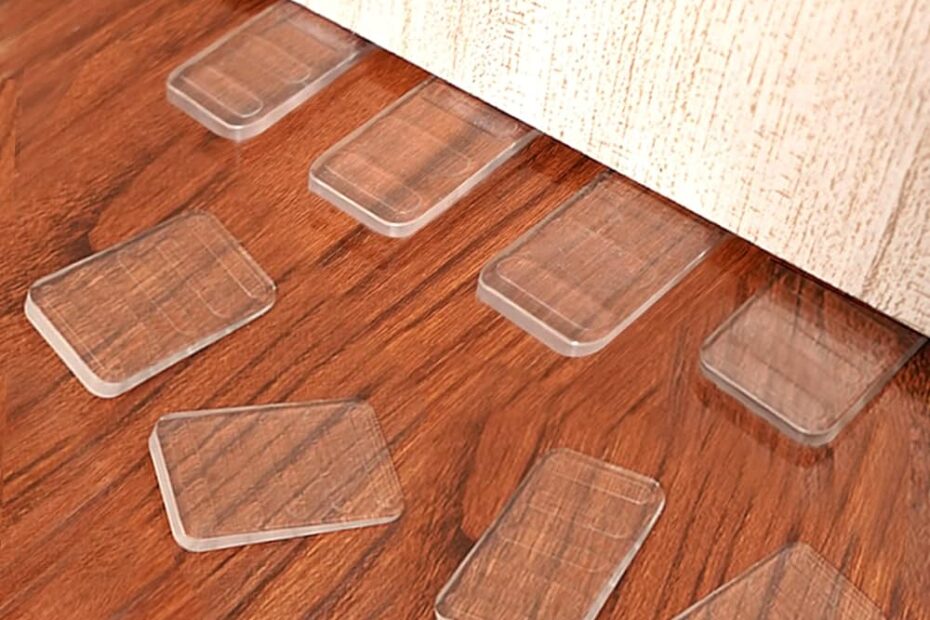
Shimming a toilet is an essential task for ensuring stability and preventing leaks. A wobbly toilet not only creates discomfort but can also lead to significant plumbing issues over time. This comprehensive guide will walk you through the entire process of shimming a toilet, from understanding the need for shimming to the best materials and techniques to use. By the end of this article, you will be equipped with all the knowledge necessary to tackle this common household problem effectively.
Why Shimming is Necessary
Toilets can wobble for various reasons:
- Uneven flooring: Over time, floors can warp or settle, leaving gaps between the toilet base and the floor.
- Improper installation: If a toilet is not installed correctly, it may not sit flush against the floor.
- Wear and tear: Age can affect both the toilet and the flooring, leading to instability.
A wobbly toilet can compromise the wax seal, leading to leaks that may damage flooring or subflooring. Therefore, shimming is crucial for maintaining a secure and leak-free installation.
Tools and Materials Needed
Before starting, gather the following tools and materials:
- Rubber or plastic shims: Soft rubber shims are preferable as they compress and grip better than hard plastic ones.
- Level: A bubble level will help ensure your toilet is perfectly aligned.
- Adjustable wrench: For loosening and tightening bolts.
- Utility knife or scissors: To trim excess shim material.
- Silicone sealant (optional): For securing shims in place.
- Bucket and sponge: For cleaning up any spills or excess water.
Types of Shims
When choosing shims, consider the following options:
| Type | Material | Pros | Cons |
|---|---|---|---|
| Rubber | Soft rubber | Flexible, grips well, compresses easily | May degrade over time if exposed to moisture |
| Plastic | Hard plastic | Durable, resistant to moisture | Can slip out; doesn’t compress well |
| Composite | Mixed material | Good balance of durability and grip | May not be as flexible as rubber |
Step-by-Step Guide to Shim a Toilet
Step 1: Prepare the Area
- Turn off the water supply: Locate the shut-off valve behind the toilet and turn it clockwise until it stops.
- Flush the toilet: This will empty most of the water from the tank and bowl.
- Remove excess water: Use a sponge or towel to soak up any remaining water in the bowl.
Step 2: Assess Stability
- Check for wobble: Gently rock the toilet back and forth to identify where it is unstable.
- Use a level: Place a level across the seat of the toilet to see which side is higher or lower.
Step 3: Loosen Bolts
- Loosen mounting bolts: Using an adjustable wrench, slightly loosen the two bolts that secure the toilet to the floor flange. Do not remove them completely; just enough to allow movement.
Step 4: Insert Shims
- Identify gaps: Based on your assessment, determine where shims are needed—typically at the back or sides of the toilet.
- Insert shims: Gently lift one side of the toilet and slide in one or more shims until you fill the gap adequately. Make sure they are positioned toward the back if possible, as this provides better stability under weight.
“Place shims near the rear of the toilet base to prevent them from slipping out over time.”
Step 5: Leveling
- Check level again: After inserting shims, place your level back on top of the toilet seat.
- Adjust as necessary: If it’s still unlevel, add or remove shims until you achieve a stable position.
Step 6: Tighten Bolts
- Tighten bolts gently: Once leveled, carefully tighten the mounting bolts while ensuring that you do not over-tighten them as this can crack porcelain.
- Recheck stability: After tightening, gently rock the toilet again to ensure it is secure.
Step 7: Trim Excess Shim Material
- Cut excess shim material: Use a utility knife to trim any part of the shim that sticks out from under the toilet base for a clean finish.
- Be cautious with cutting: Aim your cuts at an angle so that they are less visible from a standing position.
Step 8: Optional Sealing
- Apply silicone sealant (optional): If desired, apply a thin bead of silicone around the base of the toilet where it meets the floor to help keep moisture out and secure shims in place.
- Leave back open: Avoid sealing around the back so that any leaks can be easily identified.
Common Questions About Toilet Shimming
What types of shims should I use?
Rubberized shims are recommended because they compress well and grip surfaces effectively compared to hard plastic ones which may slip out over time.
How do I know if my toilet needs shimming?
If you notice rocking when sitting on it or if there are visible gaps between your toilet base and floor, it’s time to shim [3][6].
Can I use silicone sealant on all sides?
How tight should I make my bolts?
Tighten them just enough to secure without over-tightening; this prevents damage to both porcelain and flange [4][6].
Key Takeaways
Shimming a toilet is a straightforward yet essential task that ensures stability and prevents leaks in your bathroom fixture. By using appropriate materials like soft rubber shims and following systematic steps—from assessing stability to securing with silicone—you can effectively eliminate wobbling issues in your toilet installation. Remember that regular checks on your plumbing fixtures can help avoid future problems related to instability or leaks.
Citations:
[1] https://www.youtube.com/watch?v=6gHLJlLjdNs
[2] https://www.reddit.com/r/Plumbing/comments/ajsanm/toilet_shims_question/
[3] https://www.diychatroom.com/threads/shimming-toilet.120400/
[4] https://www.youtube.com/watch?v=Sje1VUNKQG8
[5] https://www.youtube.com/watch?v=CquLhBbIn90
[6] https://wobblewedges.com/blogs/blog/fix-wobbly-toilet
[7] https://www.youtube.com/watch?v=HJ1iIUbXvmw
[8] https://terrylove.com/forums/index.php
