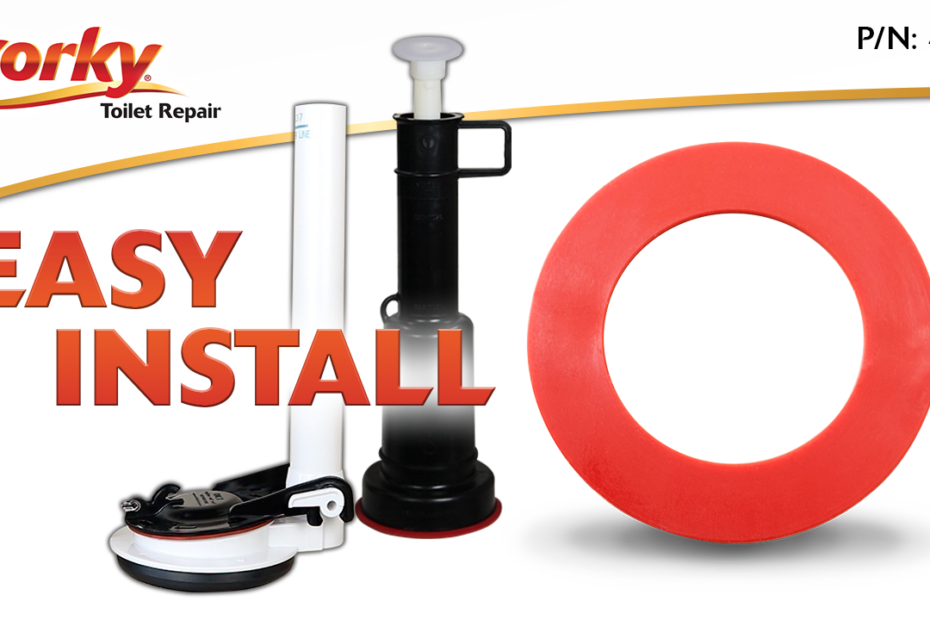
Fixing a toilet flush valve may seem like a daunting task, but with the right tools and clear instructions, it becomes a straightforward DIY project. This guide will walk you through the steps needed to troubleshoot and repair a malfunctioning flush valve. Whether you’re dealing with a running toilet, weak flushes, or leaks, this comprehensive guide will help you restore your toilet’s functionality.
Introduction to Flush Valves
A flush valve is an essential component of your toilet that releases water from the tank into the bowl during a flush. When this valve malfunctions, it can lead to various issues such as incomplete flushing, constant running water, or even leaks around the base of the toilet.
Flush valves come in different types:
- Standard flush valves: Common in most toilets and use a flapper to release water.
- Dual flush valves: Found in modern toilets, offering two flushing options for water conservation.
- Pressure-assisted valves: Use air pressure to force water into the bowl for a powerful flush.
Understanding how your specific flush valve works is crucial for diagnosing and fixing any issues.
Common Toilet Flush Valve Problems
Here are some common problems you might encounter with your toilet’s flush valve:
| Problem | Possible Cause |
|---|---|
| Running Toilet | Flapper not sealing properly or chain too tight/loose |
| Weak or Incomplete Flush | Clogged or damaged flush valve |
| Water Leaks | Worn-out flapper or faulty valve seal |
| Ghost Flushing | Water leaking from tank due to improper flapper alignment |
Running Toilet
This occurs when the flapper does not seal correctly after flushing, causing water to continuously flow from the tank into the bowl.
Incomplete Flushing
If your toilet doesn’t fully clear waste after flushing, it could be due to a clogged or damaged flush valve that restricts water flow.
Water Leaks
Leaks around the base of the toilet or inside the tank are often caused by worn-out seals or gaskets in the flush valve assembly.
Tools Needed
Before starting any repairs, gather these essential tools:
- Adjustable wrench
- Flathead or Phillips screwdriver (depending on your toilet model)
- Replacement parts (flapper, flush valve, seals)
- Towels or sponge (to soak up water)
- Bucket (for draining water from the tank)
Having these tools ready will make the repair process smoother and quicker.
Step-by-Step Repair Guide
Follow these steps to fix your toilet’s flush valve:
1. Shut Off the Water Supply
Turn off the shutoff valve located behind your toilet. This prevents water from refilling the tank while you work.
2. Empty the Tank
Flush the toilet to drain most of the water from the tank. Use towels or a sponge to soak up any remaining water at the bottom of the tank.
3. Inspect the Flush Valve
Remove the tank lid and inspect the flush valve for visible signs of wear or damage. Check if the flapper is warped, cracked, or misaligned.
4. Replace Worn-Out Parts
If you find that the flapper is damaged:
- Detach it from its hinges on either side of the overflow tube.
- Install a new flapper by attaching it back onto its hinges and connecting it to the chain attached to the handle lever.
If other parts of your flush valve are damaged (e.g., seals), replace them accordingly by following manufacturer instructions.
5. Adjust Chain Length
Ensure that the chain connecting the flapper and handle lever has enough slack but isn’t too loose. This ensures proper lifting of the flapper when flushing.
6. Replace Entire Flush Valve (if necessary)
If replacing individual components doesn’t resolve your issue:
- Remove nuts securing your old flush valve using an adjustable wrench.
- Install a new flush valve by following manufacturer guidelines.
- Reattach all components securely.
7. Test Your Work
Turn on your water supply again and let your tank refill fully before testing your repair job by flushing several times. Check for leaks around both internal components (flapper) as well as external areas like where bolts meet porcelain surfaces.
Maintenance Tips
Regular maintenance can prevent many common issues with your toilet’s flush valve:
- Check Water Levels: Ensure that water levels inside tanks remain consistent over time; adjust float mechanisms if necessary.
- Replace Flappers Every Few Years: Flappers tend to degrade after prolonged use; replacing them every few years helps avoid leaks.
- Clean Components Regularly: Mineral deposits can build up over time around key parts like valves/seals—cleaning these areas periodically ensures smooth operation.
- Inspect Seals & Gaskets: Check seals/gaskets annually for signs of wear/tear; replace them before they cause major leaks.
By following these simple maintenance tips, you’ll extend both lifespan/functionality while minimizing chances future repairs become necessary!
FAQs
1. What are signs my flush valve needs replacement?
Signs include constant running sounds after flushing, incomplete/weak flushes despite full tanks & visible leaks around base/toilet bowl area.
2. How often should I replace my toilet’s flapper?
Flappers typically last between 3–5 years depending usage frequency—replace sooner if signs wear appear earlier than expected!
3. Can I fix my own toilet’s flush valve without professional help?
Yes! Most homeowners find DIY repairs manageable provided they follow step-by-step guides carefully—no special skills required beyond basic hand tools!
4 . Why does my toilet keep running even after replacing its flapper?
Check whether chain length properly adjusted—too tight chains prevent full closure leading continued leakage post-flush cycles! Additionally ensure no sediment buildup blocking proper seating mechanisms beneath rubber gasket areas!
