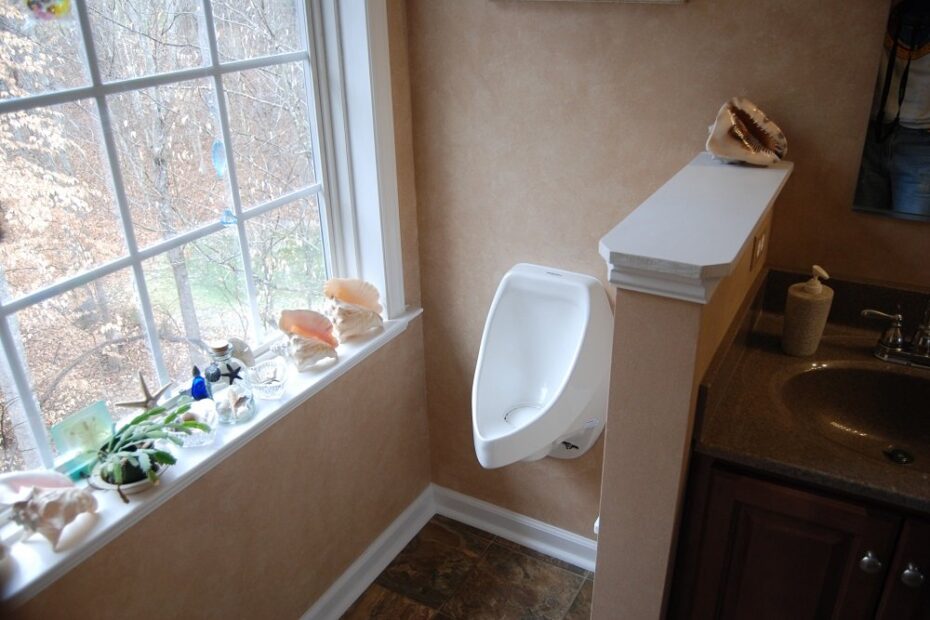
The installation of urinals requires careful planning and precise execution to ensure proper functionality and prevent potential issues. With commercial buildings using an average of 2.9 trillion gallons of water annually for urban purposes, proper urinal installation is crucial for both water conservation and facility management[5].
Planning and Preparation
Before beginning the installation process, several key factors must be considered to ensure success:
Location Selection
The placement of a urinal is critical for both plumbing functionality and user comfort. Consider the available space and ensure proper clearance for maintenance access[2]. The installation site must have adequate plumbing infrastructure and wall support to handle the fixture’s weight.
Required Materials
- Mounting brackets
- Power drill
- Plumber’s tape
- Silicone sealant
- Adjustable wrench
- Spirit level
- Mounting hardware
Water Supply Requirements
Proper water pressure is essential for efficient flushing. Modern urinals typically operate with various flushing mechanisms:
| Flush Type | Water Usage | Installation Complexity |
|---|---|---|
| Standard Flush | 1.0-1.5 GPF | Moderate |
| Low-Flow | 0.5 GPF | Moderate |
| Waterless | 0 GPF | Complex |
Installation Steps
1. Site Preparation
- Turn off the water supply to the bathroom[1]
- Mark the mounting height on the wall (typically 24 inches from the floor)
- Use a level to ensure accurate marking
- Verify wall support capability[1]
2. Mounting Bracket Installation
- Carefully drill holes at marked points using a power drill
- Install mounting brackets securely
- Double-check level alignment[1]
- Use appropriate anchors for wall type
Plumbing Connections and Assembly
Water Supply Connection
The proper connection of water supply lines is crucial for preventing leaks and ensuring optimal performance. Modern urinals require specific water pressure ranges for effective operation.
Drain Line Installation
- Connect the drain line to the existing waste pipe
- Ensure proper slope (¼ inch per foot minimum)
- Install P-trap according to local plumbing codes
- Verify all connections are properly sealed
| Connection Type | Recommended Torque | Material |
|---|---|---|
| Supply Line | 20-25 ft-lbs | Brass/Chrome |
| Drain Flange | 30-35 ft-lbs | PVC/ABS |
| Wall Mounts | 40-45 ft-lbs | Stainless Steel |
Fixture Mounting
The urinal must be securely mounted to prevent movement and ensure proper drainage:
- Position the urinal carefully onto mounting brackets
- Check level alignment in all directions
- Install mounting bolts and washers
- Tighten gradually in an alternating pattern
- Apply silicone sealant around edges
Testing and Adjustment
Initial Testing
After installation, thorough testing is essential:
- Turn water supply back on slowly
- Check for leaks at all connection points
- Test flush mechanism multiple times
- Verify proper drainage
- Ensure adequate water pressure
Common Adjustments
Fine-tuning may be necessary for optimal performance:
- Adjust flush valve timing if equipped
- Calibrate sensor sensitivity for automatic models
- Verify proper water level in trap
- Check mounting stability
Frequently Asked Questions
What is the standard height for urinal installation?
The recommended mounting height is 24 inches from floor to rim for standard installations, while ADA-compliant installations require 17 inches maximum rim height from the finished floor.
How much space is needed between urinals?
A minimum of 30 inches center-to-center spacing is required between urinals, with 36 inches being optimal for user comfort and privacy.
What are the water pressure requirements?
- Minimum: 25 PSI
- Maximum: 80 PSI
- Optimal: 35-65 PSI
How long does installation typically take?
A professional installation usually takes 2-3 hours for a single unit, not including any necessary plumbing modifications.
Troubleshooting Common Issues
| Issue | Possible Cause | Solution |
|---|---|---|
| Leaking | Loose connections | Tighten fittings |
| Poor drainage | Incorrect slope | Adjust drain line angle |
| Weak flush | Low water pressure | Check supply line |
| Overflow | Clogged drain | Clear obstruction |
Maintenance Recommendations
Regular Maintenance Schedule
- Daily: Visual inspection
- Weekly: Clean spray heads
- Monthly: Check all connections
- Quarterly: Deep clean and seal check
- Annually: Professional inspection
Water Conservation Tips
Modern urinal installations can significantly reduce water consumption:
| Type | Annual Water Usage | Cost Savings |
|---|---|---|
| Traditional | 40,000 gallons | Baseline |
| Low-Flow | 18,000 gallons | 55% |
| High-Efficiency | 4,800 gallons | 88% |
Conclusion
Proper urinal installation requires attention to detail and adherence to plumbing codes and manufacturer specifications. Following these guidelines ensures optimal performance, water efficiency, and user satisfaction. Regular maintenance and prompt attention to issues will extend the fixture’s lifespan and maintain sanitary conditions.
Citations:
[1] https://www.lecicosa.co.za/urinal-installation/
[2] https://butlerplumbing.ca/plumbing/appliance-installation-repairs/urinal-installation/
[3] https://www.irbnet.de/daten/iconda/CIB21774.pdf
[4] https://www.mdpi.com/2071-1050/14/23/15506
[5] https://efiling.energy.ca.gov/GetDocument.aspx?DocumentContentId=8087&tn=71765
[6] https://datahorizzonresearch.com/urinals-market-3408
